Setup guide
Build a darkroom in a spare room.
What you actually need, in the order you need it, and what you can put off.
1. Make the room dark
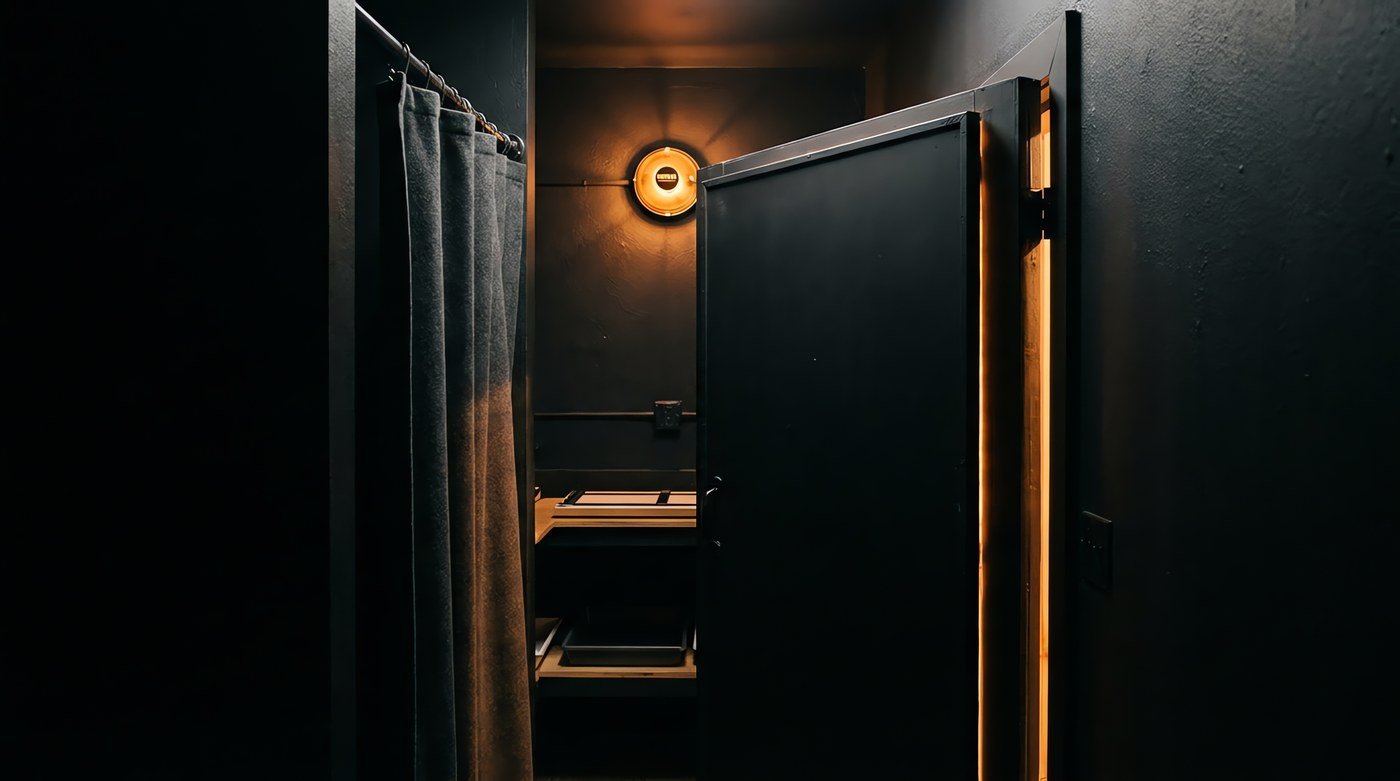
Before anything else, stand in the room with the lights off for five minutes and let your eyes adapt. You will see leaks you could not see in the first thirty seconds. The floor gap under a door is almost always the worst one, and it is the one people forget because they are looking at the window.
A blackout baffle across the doorway lets you walk in and out without flipping a switch. Add a brush strip along the floor if you are working in daylight hours.
A darkroom is not a room with the lights off. It is a room where you can prove the lights are off.
2. Prove the safelight
Every safelight is safe for some paper, at some distance, for some length of time. Yours is only safe if you have tested it in your room. Lay a sheet of your actual paper on the bench where you work, put a coin on it, leave it under the safelight for ten minutes, then develop it normally. If you can see the coin, your light is fogging your paper and nothing downstream will fix it.
Run that test again whenever you change paper, move the lamp, or replace the bulb.
3. Split the room wet and dry
Keep the enlarger, paper and timer on one side and the dishes on the other, with as much distance as the room allows. Chemistry splashed onto a negative or dried onto a lens is permanent, and a wet hand in a box of paper ruins the box.
Four dish positions is the working minimum: developer, stop bath, fixer, and a holding bath of plain water for prints waiting to be washed. Three pairs of tongs, notched differently, stay with their own dish and never cross.
4. Buy consumables, not gadgets
A beginner darkroom goes wrong far more often through exhausted fixer, fogged paper or a stop bath that stopped working than through the lack of any piece of equipment. Spend on a hundred sheets of resin-coated paper you can afford to waste, and on chemistry fresh enough to behave predictably.
The grain focus finder and the four-blade easel are worth buying early. The archival washer, the sodium safelight and the enlarging lens upgrade can all wait until you know you are staying.
5. Calibrate once, then stop guessing
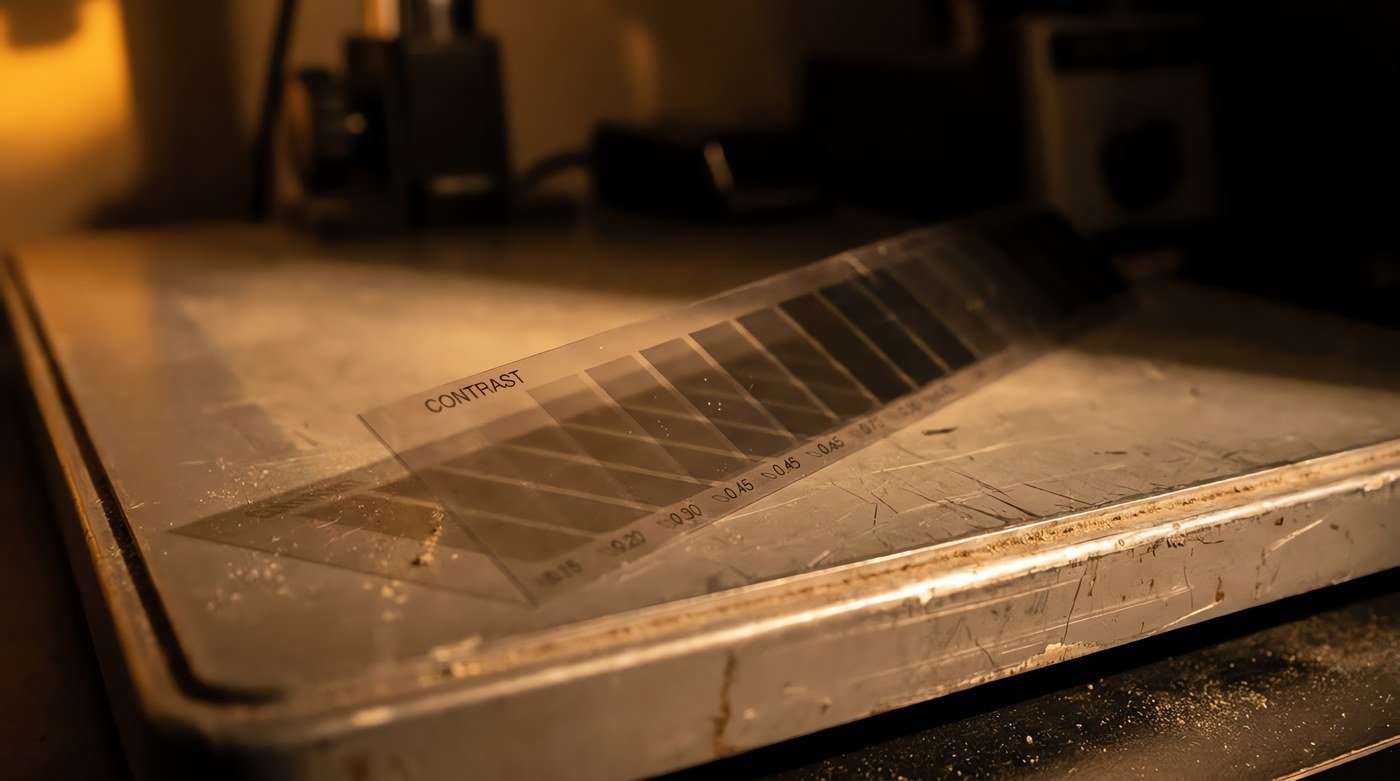
Contact print a step wedge onto the paper you have standardised on, at a known aperture and time. What comes back tells you the exposure that first gives maximum black and how many measured steps that paper holds at each contrast grade. From then on you are choosing a grade from evidence rather than from habit.
Write the numbers on the inside of the paper box lid. You will not remember them next month.